
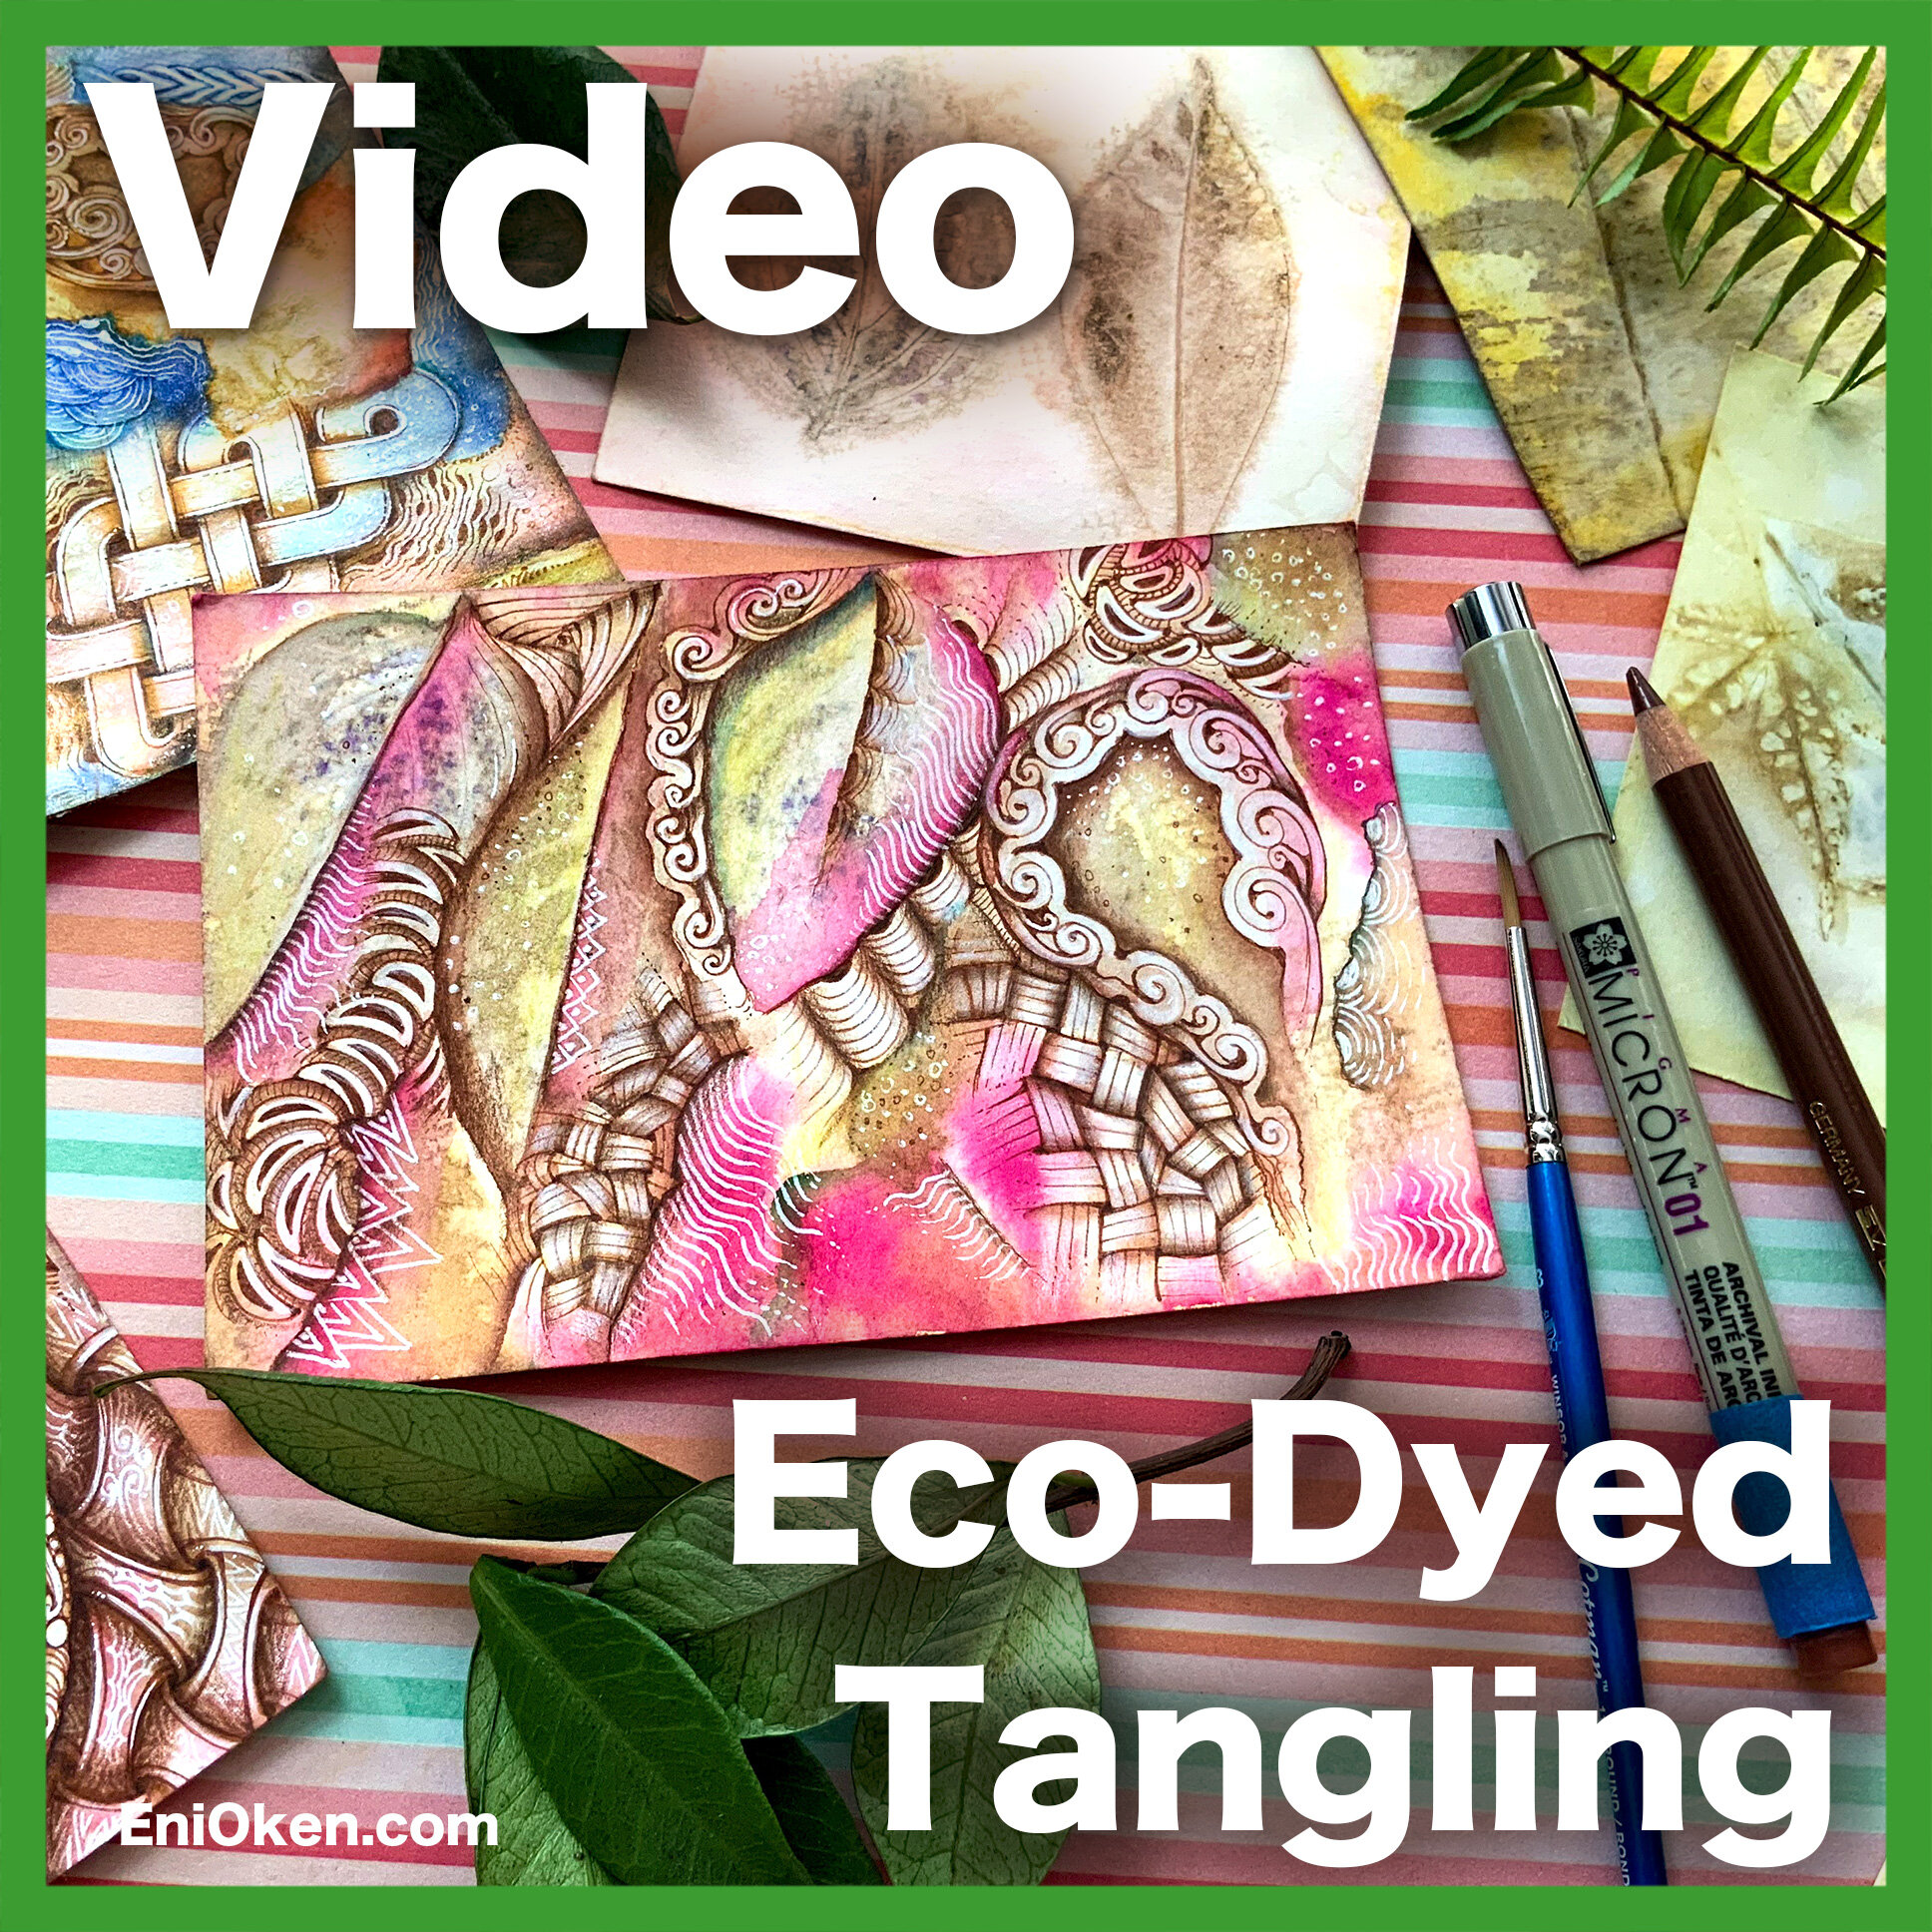
Eco-dyed Tangling Video Lesson

Eco-dyed papers (regular papers that have been dyed with natural leaves and flowers) are all the rage right now. They only problem with these papers is that they are so beautiful, it's difficult to get past that — our inner critic screaming “you're going to ruin this gorgeous paper!”. How to deal with that? This lesson comes to answer that question, helping you to create a beautiful abstract dream landscape of tangles.
I will be honest — I don't have the patience (or the garden) to make eco-dyed papers myself. But I LOVE them so much! That's when my friend Nancy Dawes came to the rescue, and provided a bunch of her gorgeous eco-dyed papers:

I was ecstatic to have a huge cached of beautiful eco-dyed papers. When I first tried to use them, the problem became very clear: these babies are so pretty, the leaves and flowers so lovely, how can one even dare to tangle over them!?
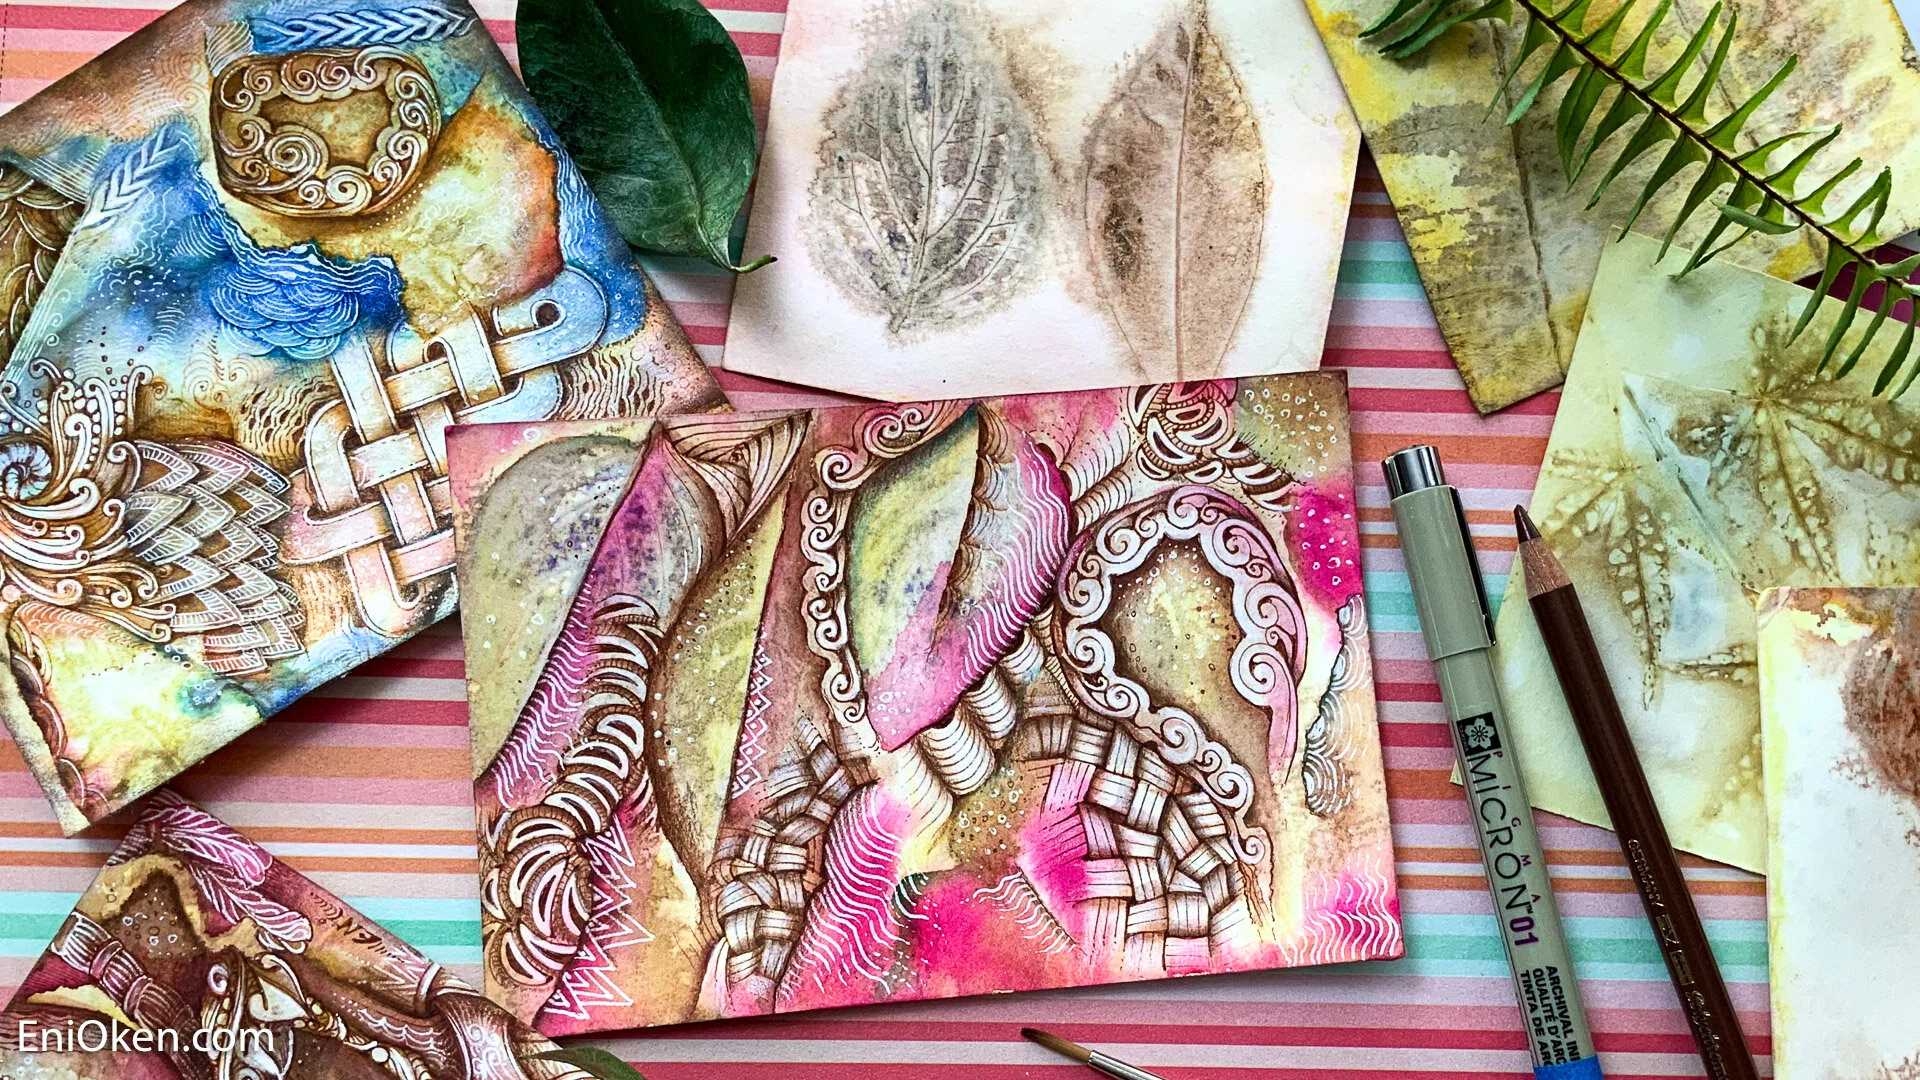
I talked to other people who seem to suffer with the same issue. It became a challenge and that's when I created my first two pieces, using a gentle and exploratory approach using watercolors first.

I was really so happy with the results, I decided to convert this process into a lesson! The process gently takes you through an initial exploratory phase first, where you use watercolors in an abstract and intuitive way to colorize the paper first. After that, the real tangling begins.
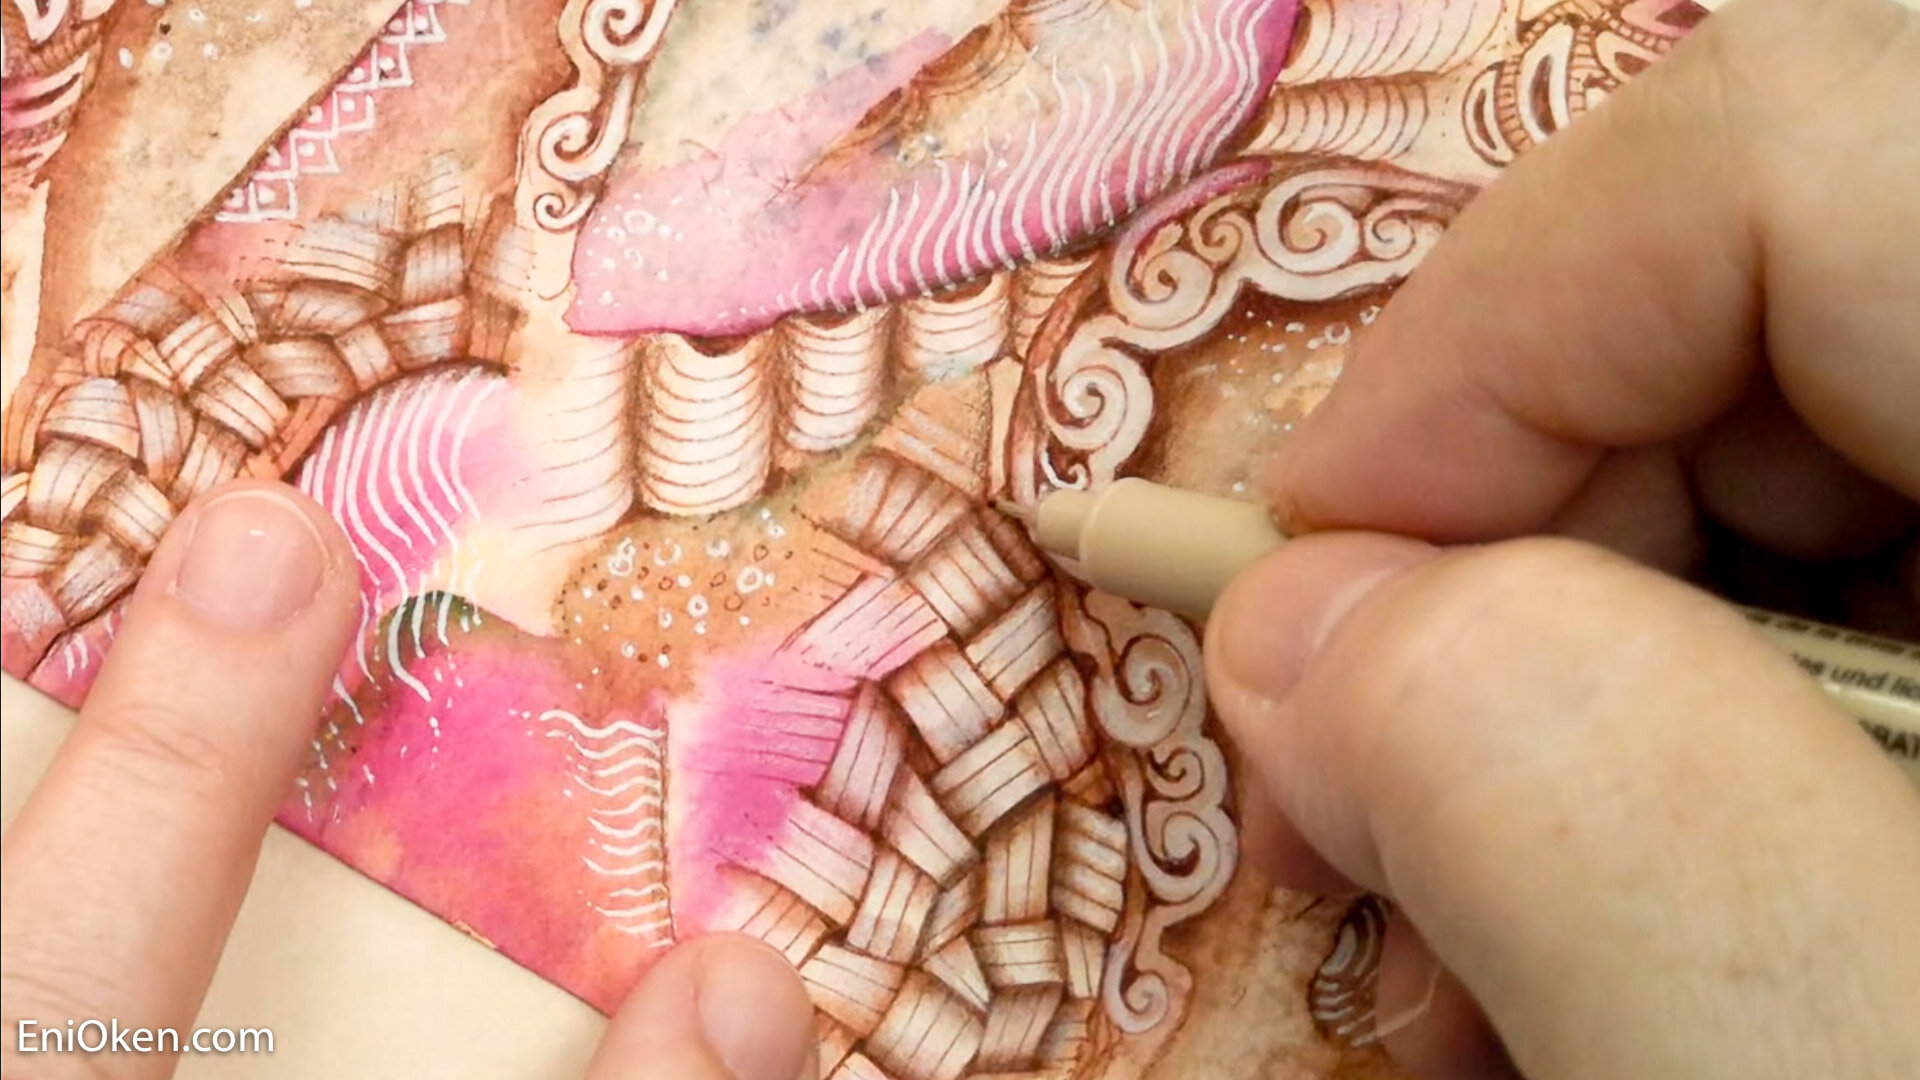
In this lesson, we'll use different media: brown inking pen, watercolors, colored pencils and more. The entire process is described and explained in great detail in a 1:17 hour long video. Surprisingly, I did not classify this as an advanced lesson — if you can tangle reasonably, then you can create these dream-like landscapes. It's a matter of putting the effort to create the many layers of line-art and coloring. I just love how DREAMY the pictures turn out.
Well, what if you are like me and don't feel the inclination to boil plants to create the real eco-dyed papers yourself? I came up with a really fun alternative which uses distress inks (something you probably already have in your toolbox, and if you don't, you need to get these real fast!).

Here are some of the papers I made using this “faux” eco-dyed technique, and although they are not as GORGEOUS as the real eco-dyed ones, they are pretty fun to work with too and serve the purpose just as well.

As usual, aside from the video, the lesson also comes bundled with several bonus PDFs, such as recipe cards and a video summary. My favorite bonus materials are always the step-by-step case studies: you can zoom into the PDF to your heart's content and analyze every little detail of each step of the process I used to create these pictures.

The lesson is usually released first to my beloved Art Clubbers (learn more here) and then after a few weeks to the general public. Visit the Video Shop link to find out more about this lesson bundle!


I finally finished a couple of eco-dyed projects I had started a few months ago when we were playing with that lesson. Leaves and corn!