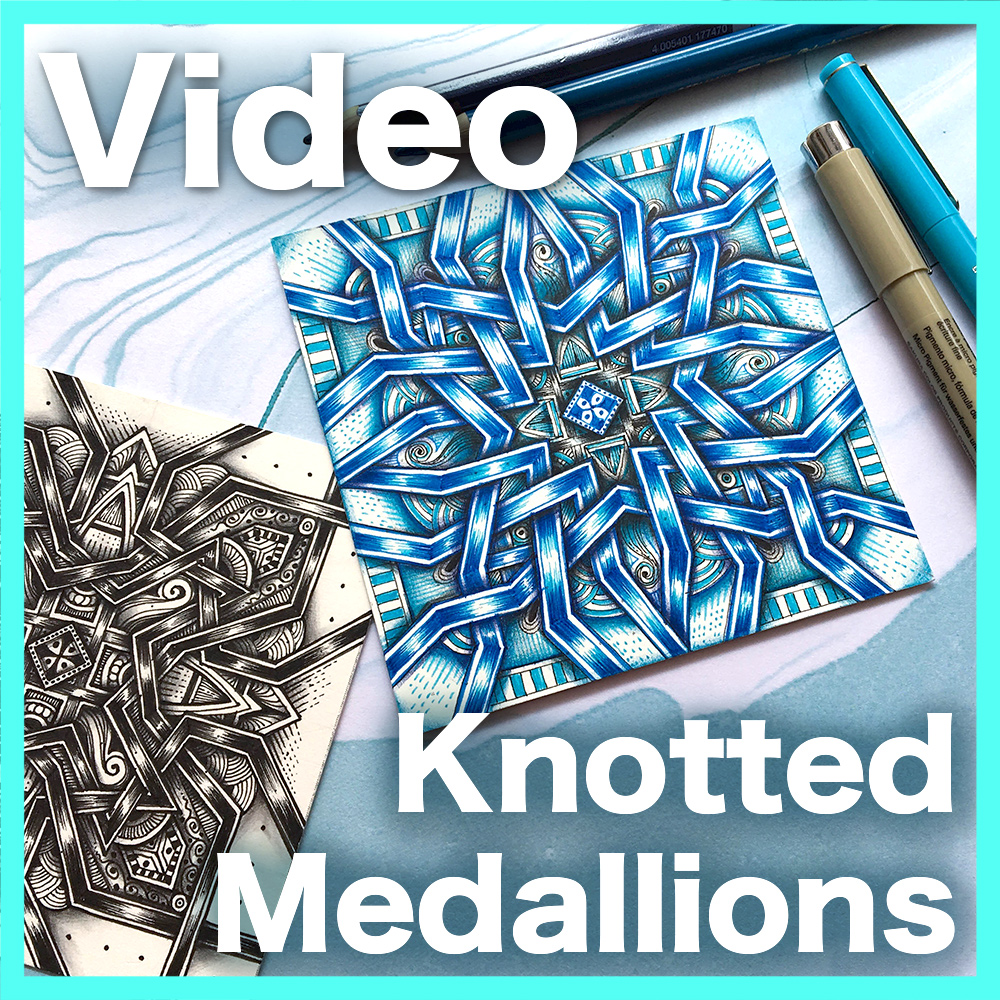
Knotted Star Medallions Video

If you loved the Square Medallions lesson, then you'll love this one even more. Create KNOTTED Star Medallions! This is an advanced lesson where you'll learn how to create Celtic-inspired ribbons which cross over and under. The Knotted Star Medallions are constructed over graph paper, in an almost continuation (but not quite) of the Square Medallions lesson.

The video lesson contains Captions
KNOTTED STAR Medallions
Take an extra challenge after the Square Medallions lesson: create KNOTTED Star Medallions with colored ribbons. The results are even more intricate! An advanced lesson to push your limits: create stunning, Celtic Knot-inspired star medallions with glowing interlaced ribbons.

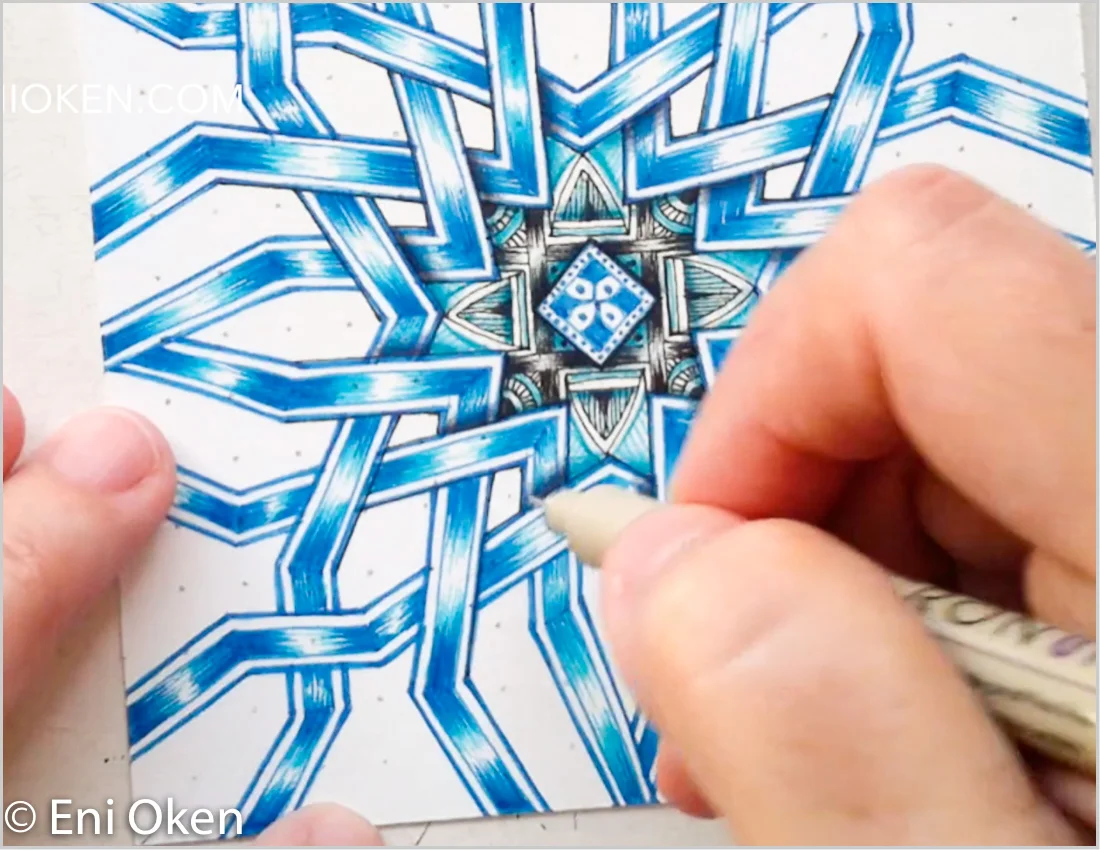
Learn to create knotted ribbons using delicate hatching
In this lesson you will learn:
How to prepare your own graph paper
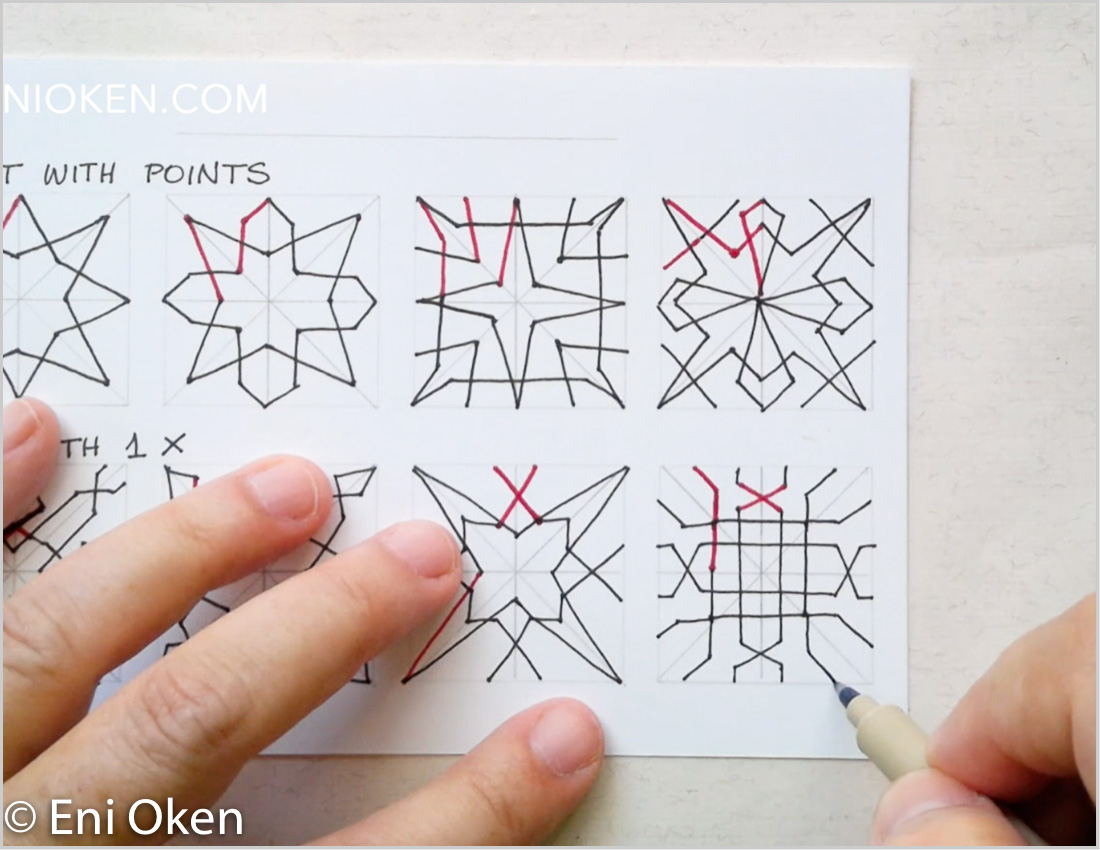
How to understand the concept of the Knotted Star
Tricks and tips to create your own unique star medallion design
Mistakes to avoid when designing knotted stars
How to create hatched gradient color ribbons using fine-liners
How to shade the knotted ribbons and the medallion
How to create contrast with patterns, pens and shading
And so many tips and tricks!
This is an advanced lesson: it is highly recommended that you watch the Square Medallions and the Freeform Knots lessons before.
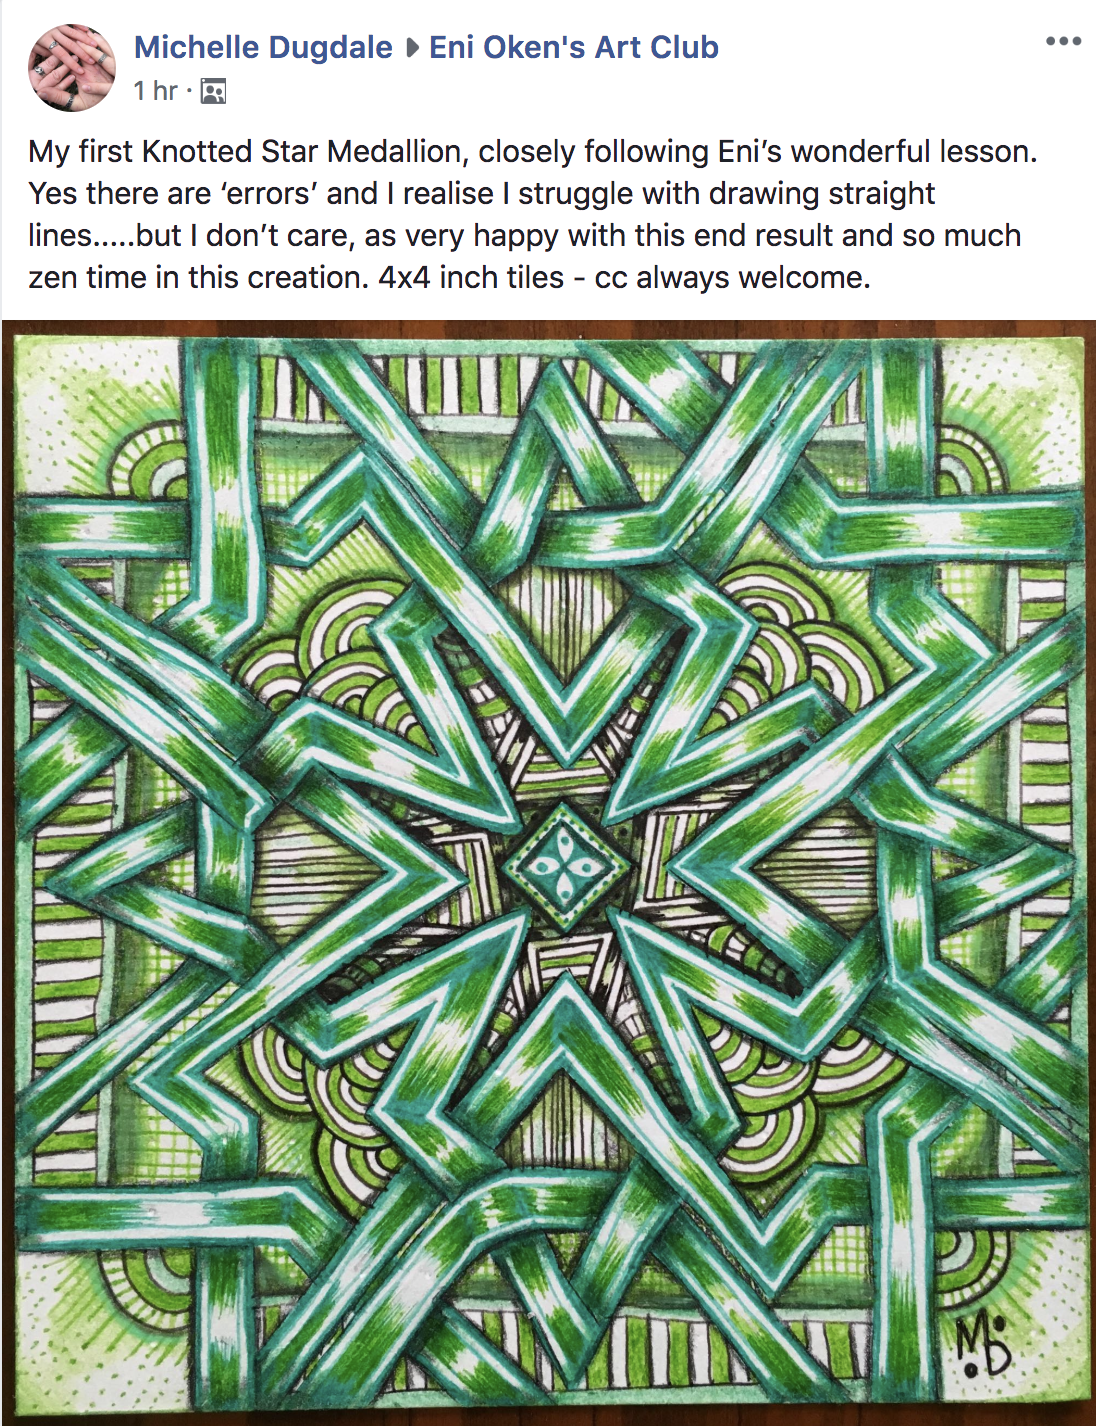
So many hours of blissful Zen flow

Supplies needed:
Hot-pressed watercolor paper tile 4x4 inches printed with grid (template provided in the lesson)
Black inking pen. My favorite is the Sakura Micron 01
Blue inking pen. My favorite is the blue Sakura Micron 01
Light turquoise fine-liner. My favorite is the Marvy Le Pen light blue
Black colored pencil. My favorite is the Black Polychromos
Dark Blue colored pencil. My favorite is the Indanthrene Blue Polychromos
Dark Teal colored pencil. My favorite is the Bluish Turquoise Polychromos
No printer? Optionally use a small ruler and pencil to mark the grid
Optional: use a grid stencil to mark dotted grid. Find a the Ultra grid shown in the lesson at Acadia Laser here
Optional: create and print your own grid using one of these websites. Remember I do not endorse or own any of these, so caution when using:
1) Gridzzly: super easy to use, my favorite.
2) Incompetech: offers many different options and different selections. Careful with the ads and misleading green buttons.
3) Printablepaper: huge selection of shapes, but doesn't offer option to customize the paper size.

Tip: Make your own template!
If you can't print your dotted paper over cardstock, then use this really neat idea by Kerri. Mark your own dots on cardstock, tape it with packing transparent tape to make it sturdier and then punch the holes with a thick needle. Brilliant, thank you Kerri!
This lesson will work over any type of graph paper

Complete an entire project from beginning to end
I'll show you how to create the structure for TWO different projects, one more advanced and one intermediate. You can choose which project level to complete. I'll show you how to develop your OWN star design, including the pitfalls to avoid.