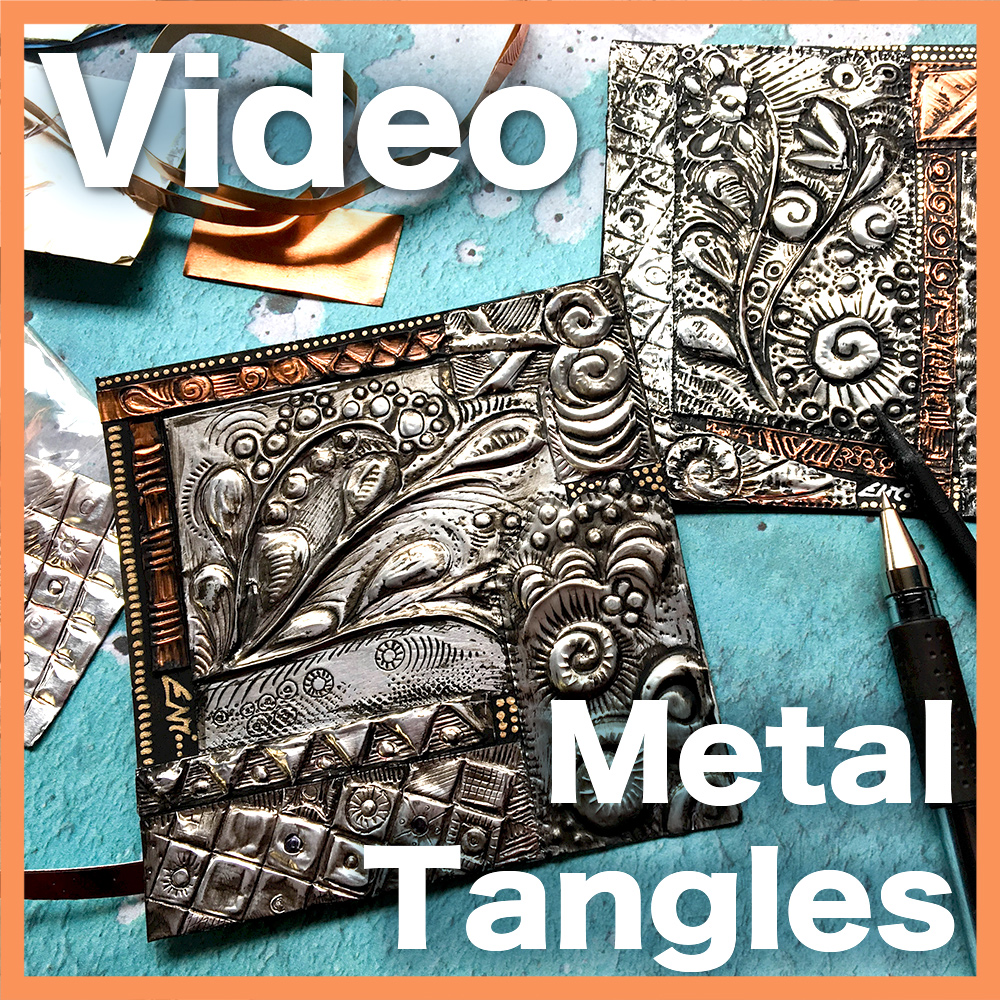
Metal Tangles lesson bundle or Ebook
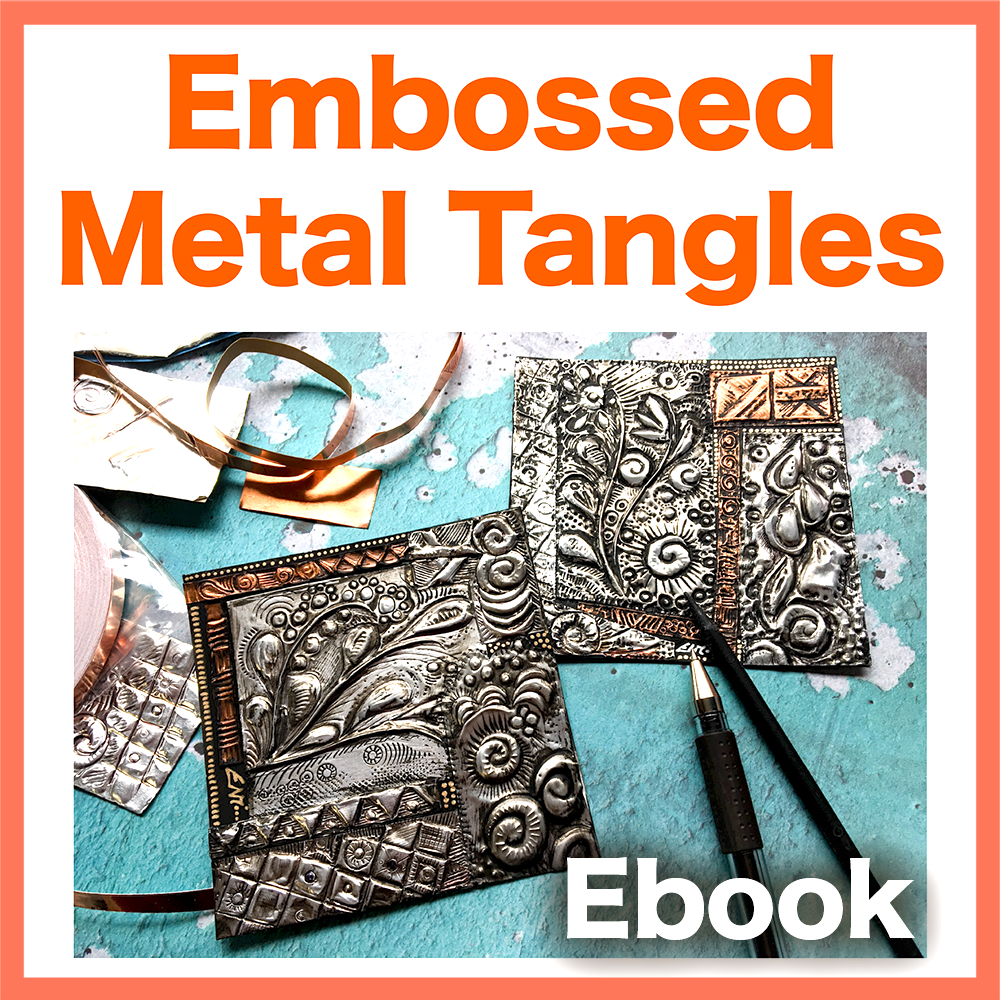
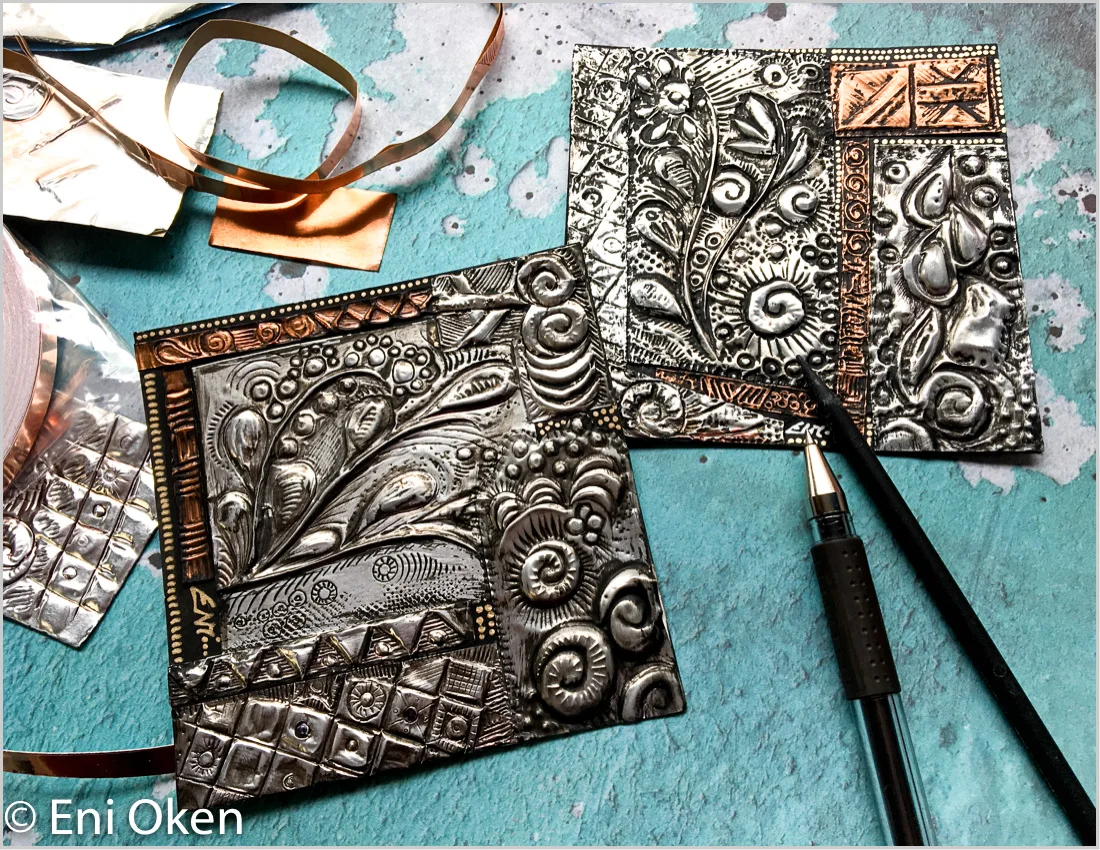
Ready to explore a new medium? In this lesson we'll learn how to use metal foil tape to create sparkly metallic tangles that resemble your grandmother's antique silver.
Experiment with a fun new medium: metal foil
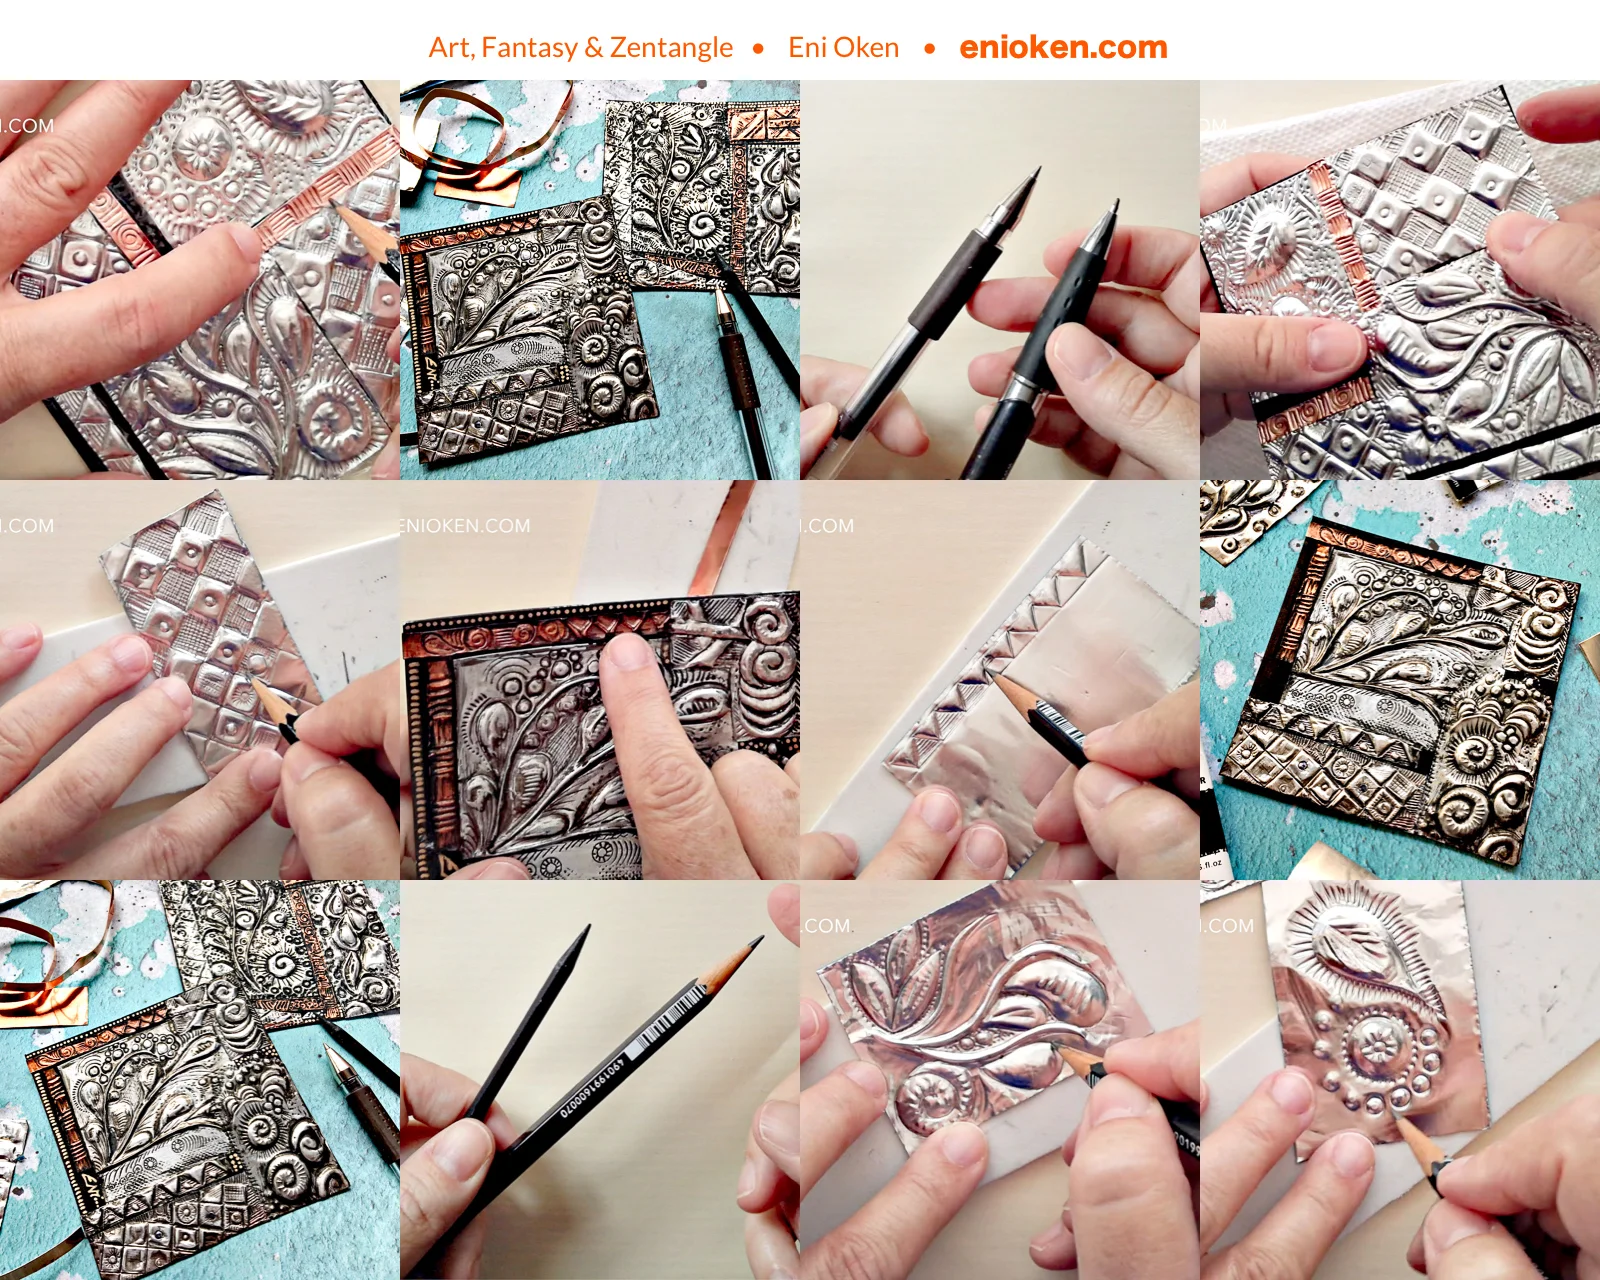
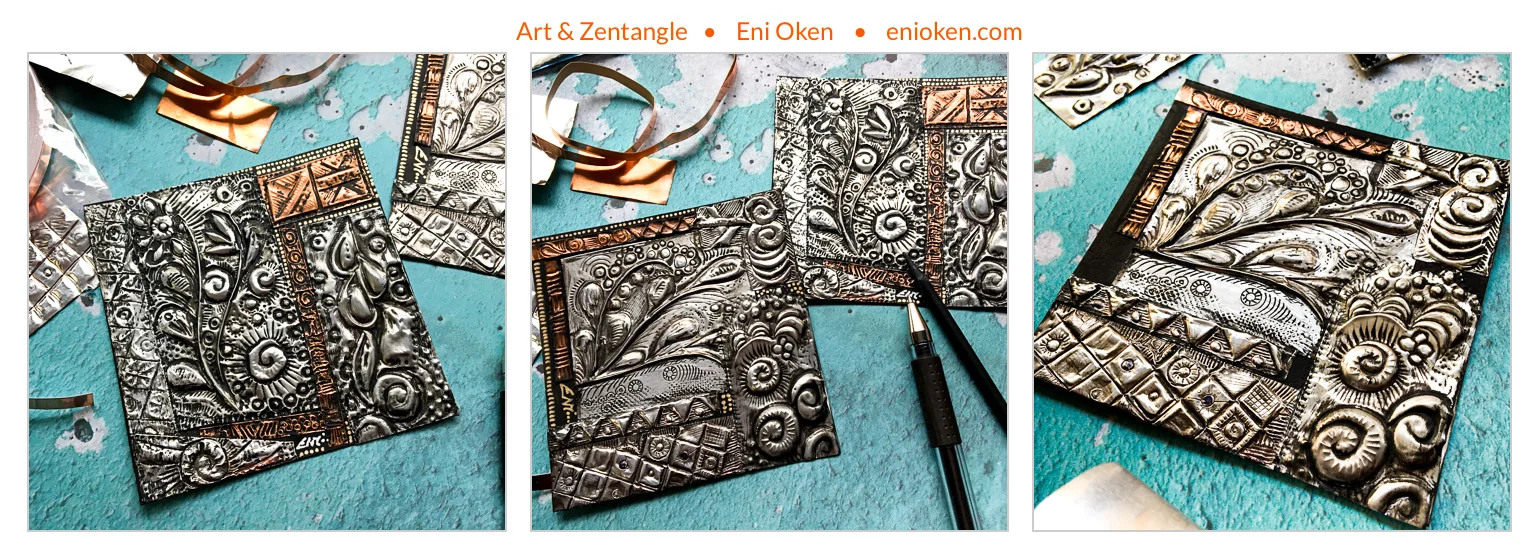
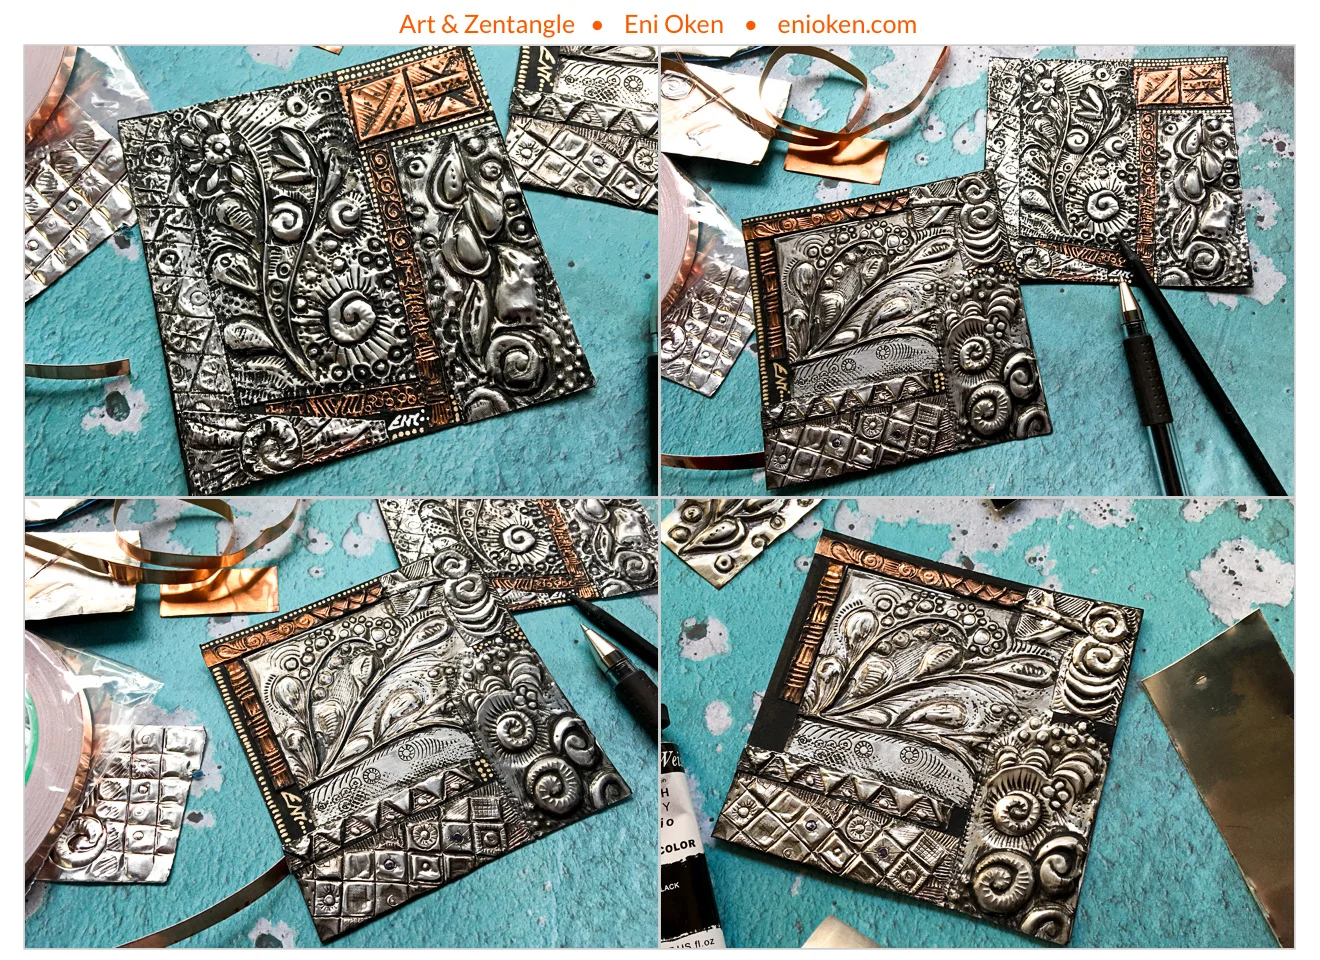
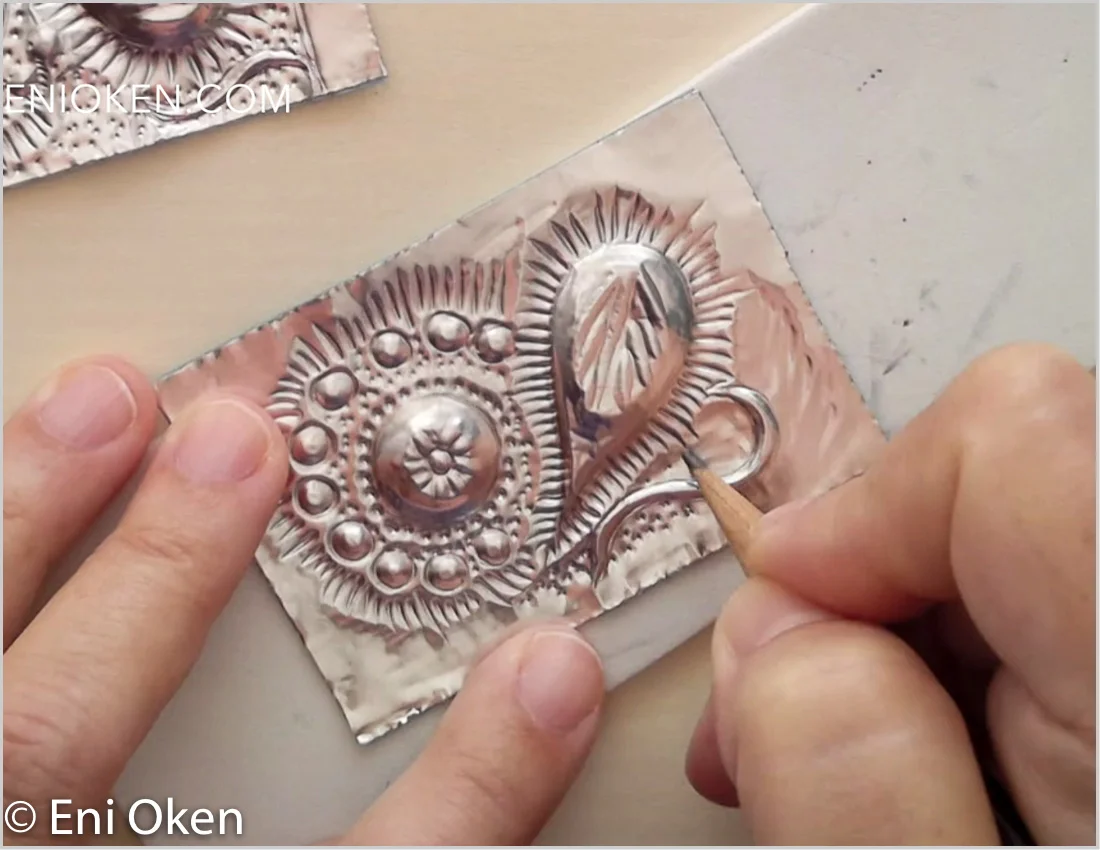
I love trying new techniques and new media. I've always been fascinated by repoussé, which is a technique of embossing metal sheet from the back. However, I don't want to invest a lot of money in a whole other set of tools for a new technique. I tried different things and ended up using mostly tools that I had readily available in my tool box!
Learn a new technique: embossing metal foil tape
Are you a visual learner or a reader?
Now you can choose!
This video contains Closed Captioning

In this lesson you will:
Learn about different materials and how to create a minimal investment tool kit
Learn different techniques to emboss on metal foil
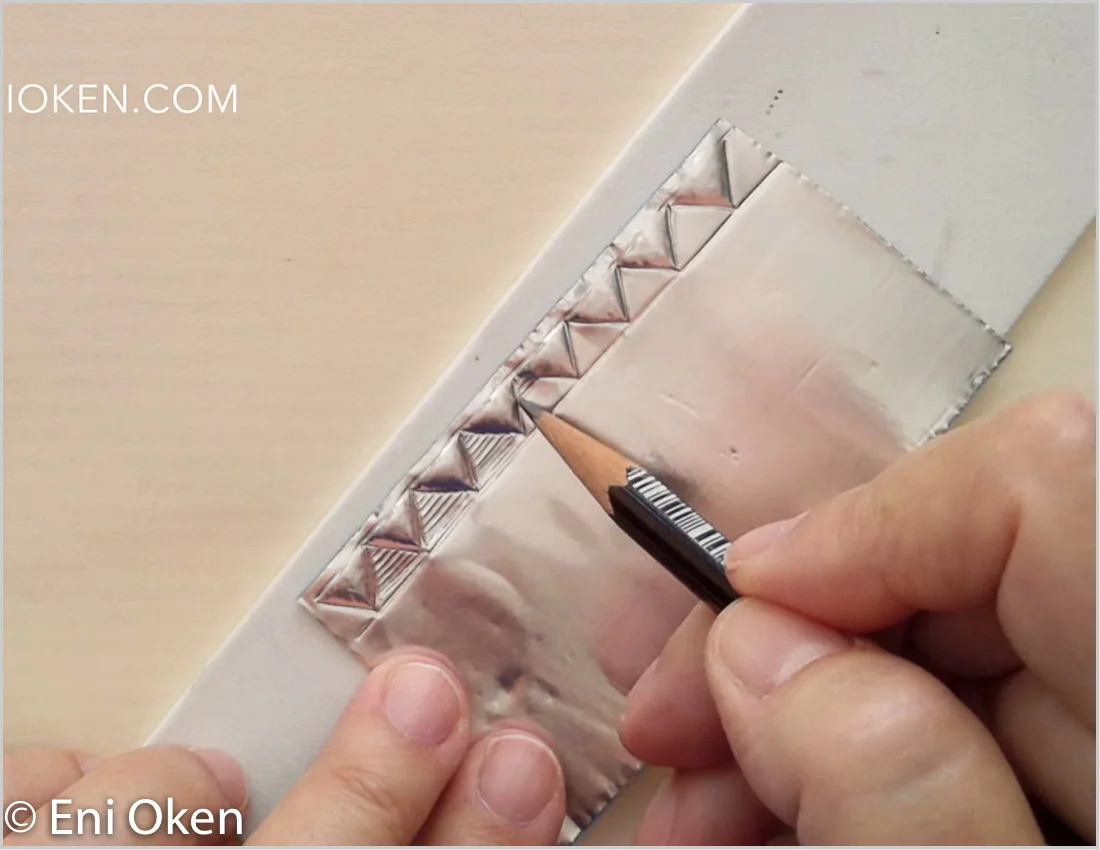
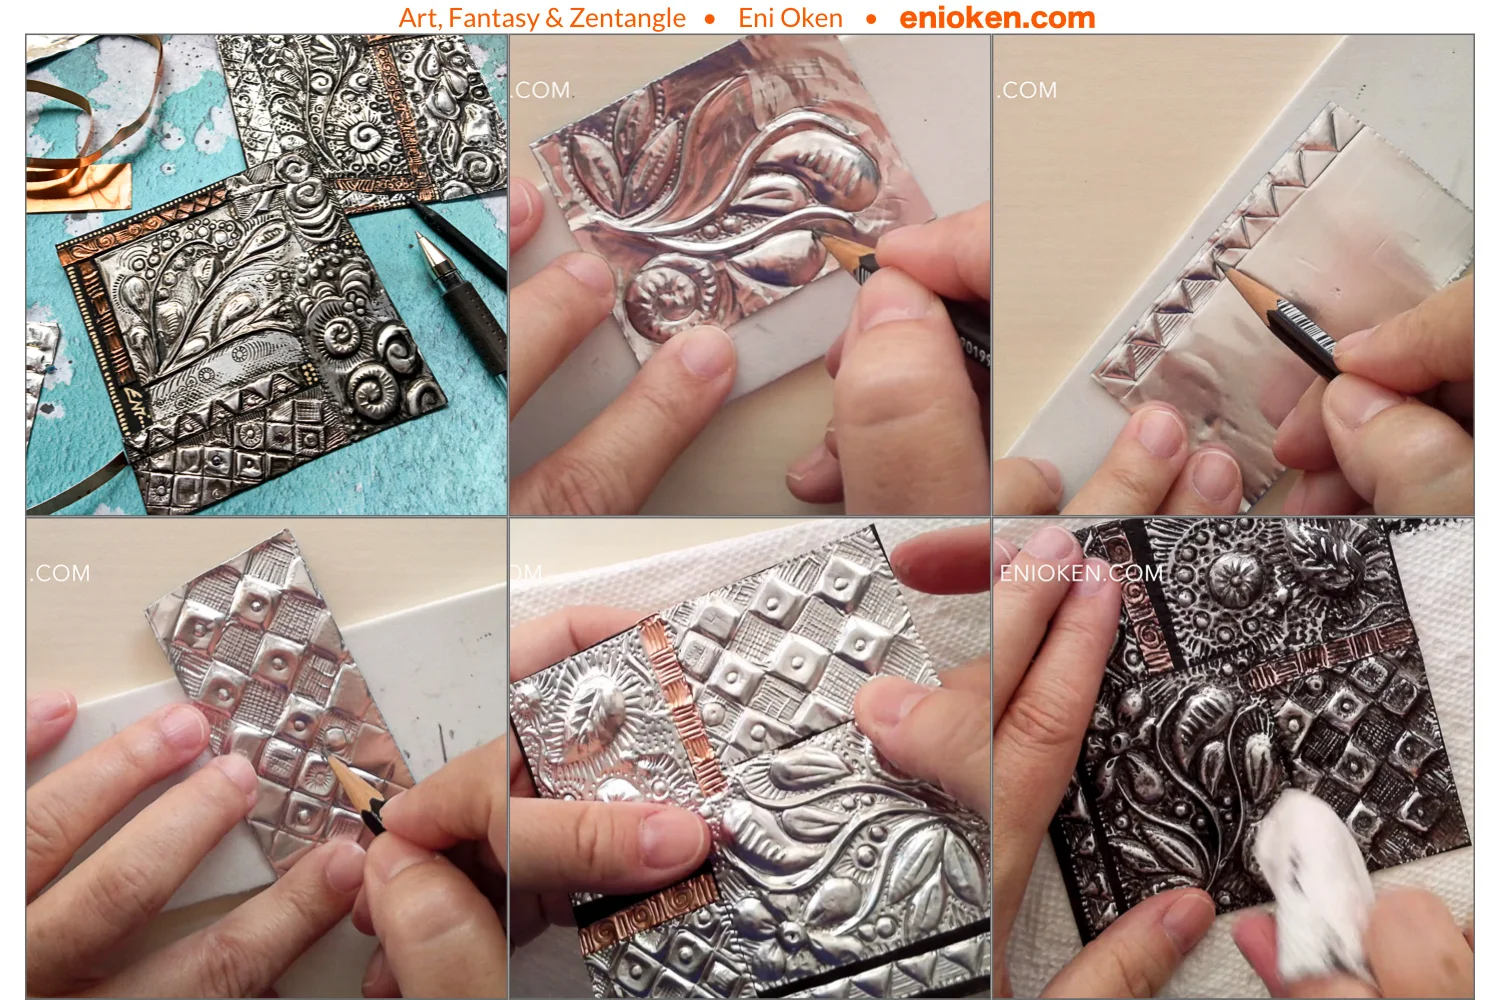
Learn how to create and refine embossed shapes and lines on metal foil
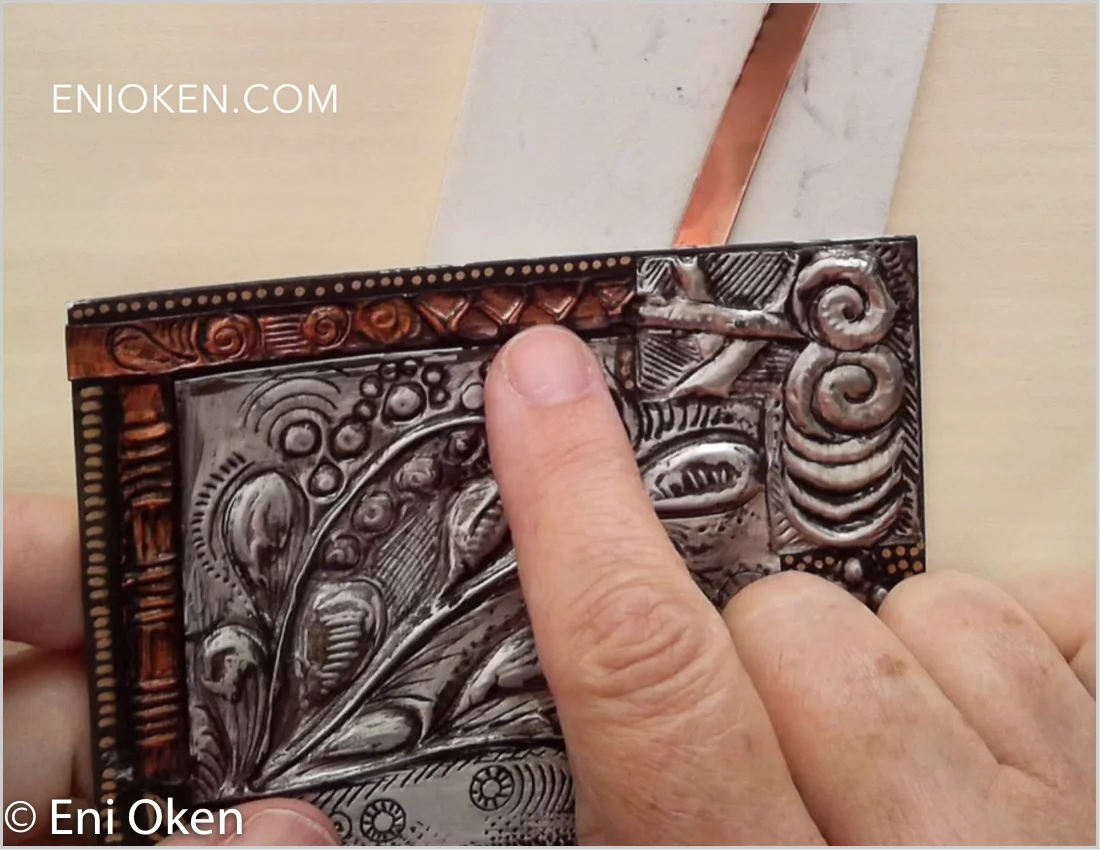
Learn how to create botanical inspired designs on metal foil tape
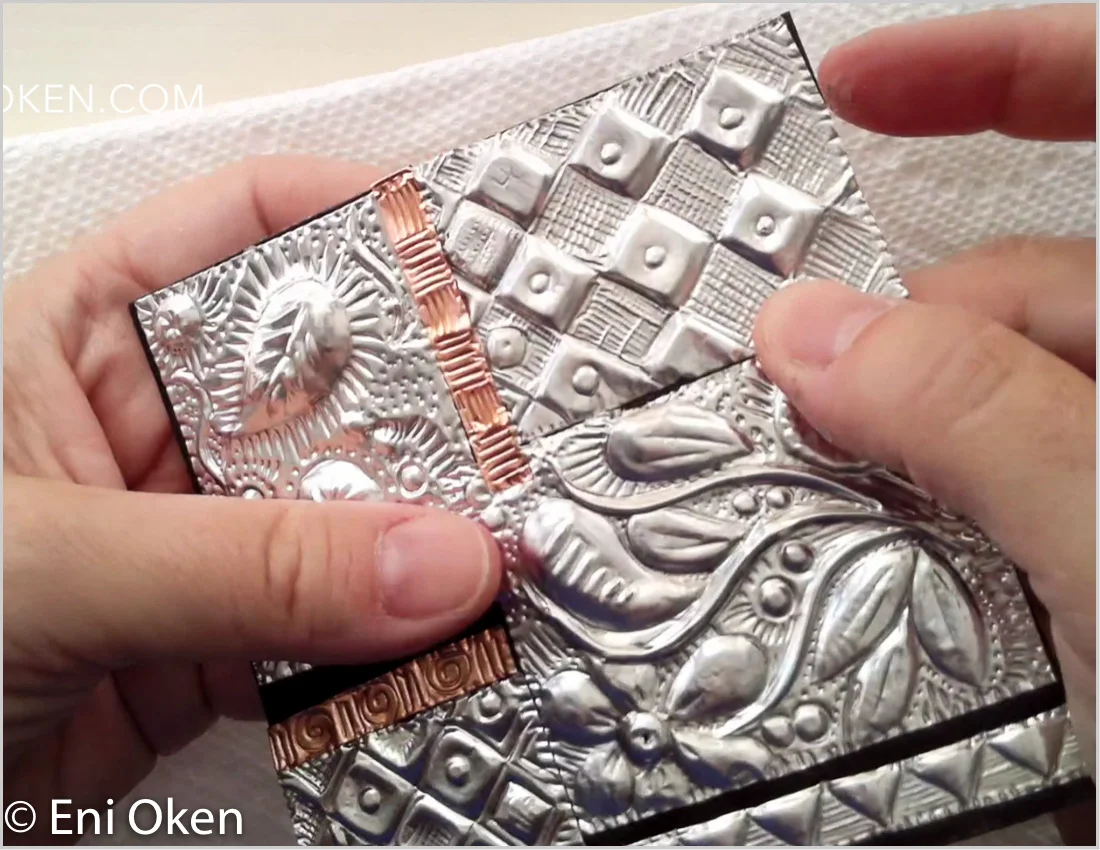
Learn how to create grids and borders on metal foil
Develop a full metal foil tape project, from beginning to end
Learn how to add grungy patina and how to polish your metal tiles
And so many tips and tricks!
Learn a super fun technique, with minimal investment

Supplies needed — READ CAREFULLY!
I experimented with several different types of materials and tools as to use the FEWEST specialized tools and supplies possible, so that we can enjoy this technique without a huge commitment or financial investment. Most of the tools you’ll find in your artbox. These are my recommendations (read more about metal sheet at the end of this supply list):
Metal Foil tape: Nashua’s Waterproofing Repair Metal tape. This is the thickest one, others are thinner and flimsier. It is still nowhere as thick as craft metal sheet. You can find it at a hardware store or on Amazon. One roll is only $10 and will last you a LONG time, you can share it with a friend.
1/4” Copper foil tape: Master Foil Plus by Ventura. Optional, but nice to have to give some color. You can get other brands, but this was the nicest and smoothest one I tried or all. Be careful to not get one that is too thin, or it won’t work. One roll will last you a long time, you can share it with a friend.
Craft foam or mouse pad. Soft surface to work on. If you love your mousepad, keep in mind that it WILL get
dirty. Find it here.A sharp pencil. I like to use 2H because the graphite is hard, but you can use any pencil you like.
Ball point pens. They don’t need to be empty, in fact, they work better if they have ink. I use two kinds, one with a thinner point (gel pen) and one regular ball point.
A manicure flat stick or a popsicle stick.
A blending stump. Make sure you don’t use your good one, it will get a little destroyed.
A pair of scissors. Make sure you have one dedicated only for this, since the adhesive on the tape can get very sticky.
White glue or double stick tape.
Thick cardstock paper. I use hot pressed watercolor paper.
Any brand black acrylic paint. I use a very inexpensive brand.
A medium size paintbrush. This is used to apply acrylic paint. Make sure it’s not one of your best brushes, but preferably choose a soft flat brush.
Paper towels. Lots of it!
Plastic food wrap, e.g. Saran wrap. Any brand.
Brown Identipen by Sakura. Optional, to add some minimal color over the metal.
Spackle. Optional! Use to fill the back of very highly embossed shapes so they don’t get flattened accidentally. If you are careful with the work, you DON’T need this. It smells really badly, nasty fumes.
About craft metal sheet: Typically speaking, metal embossing crafters use medium metal sheets that come in rolls — “medium" usually corresponds to 36 gauge, while “light” corresponds to 40 gauge (the higher gauges are thinner) — and they and can be found in art supply stores. While these produce very good quality results, I found them hard to manipulate, after a little while my hands hurt because they are quite thick. So while you can use the same exact techniques shown in the lesson, I did NOT use craft metal sheet, HOWEVER, if you want to try it, then you can find it here.
Learn several basic techniques to work on metal foil tape
I'll show you several things you can do to create sharp, crisp, beautiful designs over metal foil tape, and how to create a GORGEOUSLY distressed piece of metal art!
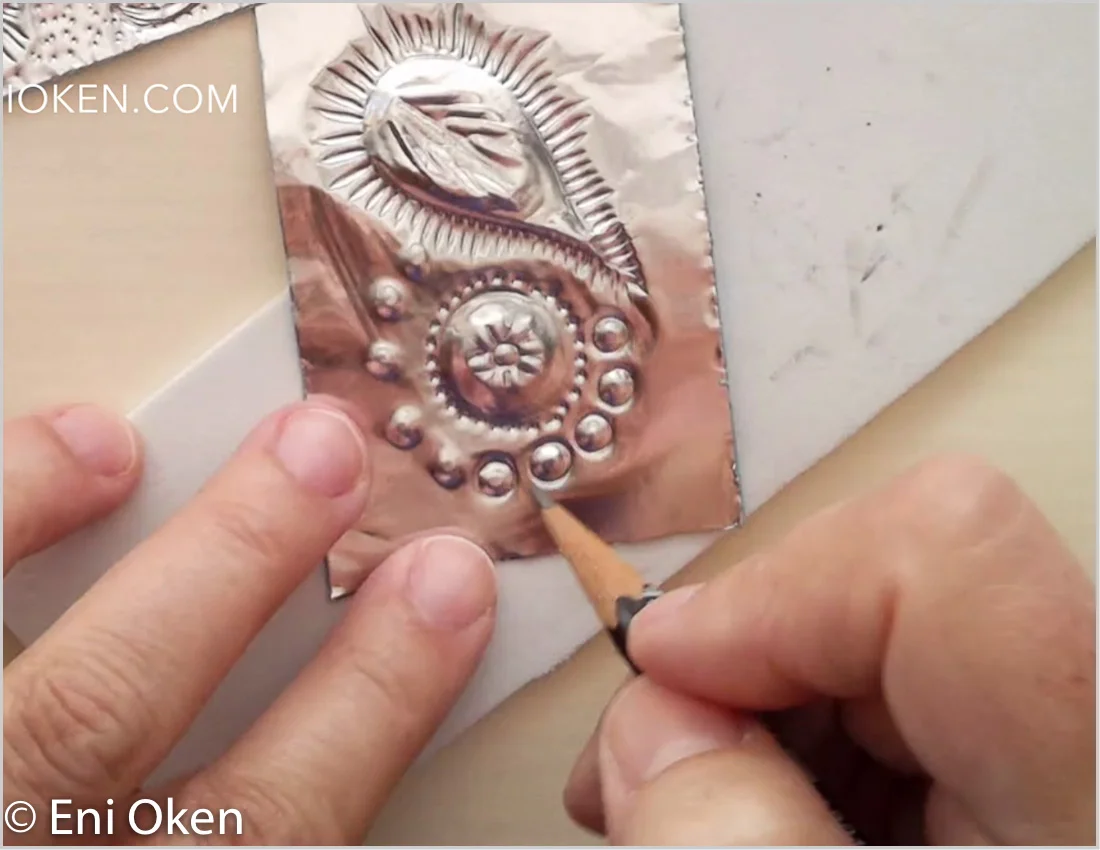
BUILD UP FROM SIMPLE SHAPES AND LINES, FORMING INTRICATE EMBOSSED PIECES
You'll learn the basics of embossing metal foil tape, adapted from “repoussage”, or “repoussé”, an ancient technique used to hammer the back of metal sheet to form dimensional shapes.